How to Use AI for Video Editing in 7 Simple Steps (Beginner Friendly)
Video editing has traditionally been a time-consuming and complex task requiring advanced skills and expensive software. But thanks to advances in artificial intelligence (AI), even beginners can now create stunning videos quickly and effortlessly. AI-powered video editing tools automate many tedious processes like cutting, color correction, adding effects, and more — saving you hours of work.
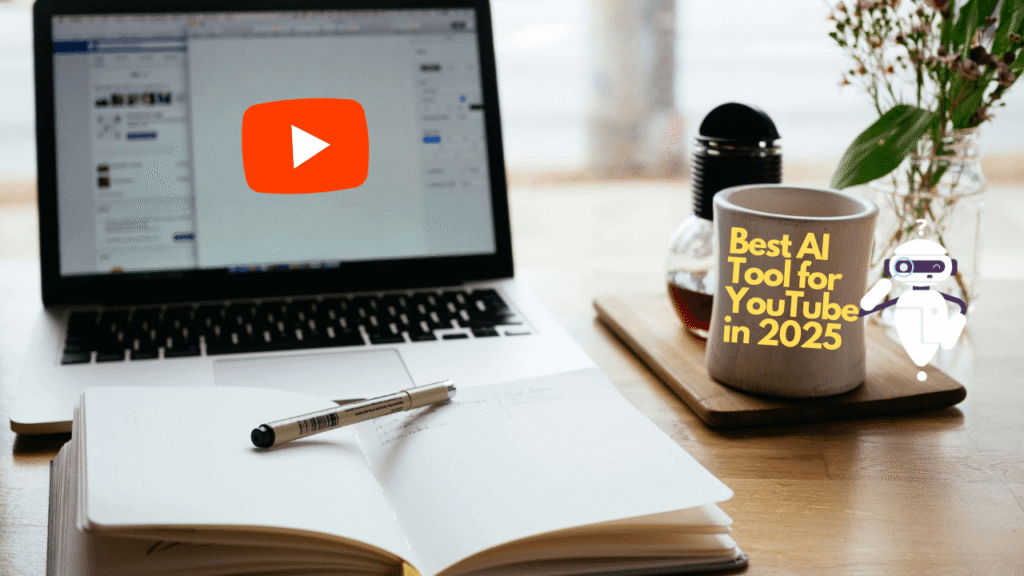
By the way, if you want to save your more hours check out our – Surprisingly The Best AI Tool for YouTube Content Creation in 2025 (Plus 5 Free Bonus Tools)
In this guide, you’ll learn 7 easy steps on how to use AI for video editing, from choosing the right tools to applying AI features that enhance your videos like a pro. Whether you’re making content for YouTube, social media, or personal projects, this beginner-friendly guide will help you harness the power of AI to level up your video editing game.
7 Simple steps to cut your video editing time close to nothing
Step 1: Choose the Right AI Video Editing Tool
Before you start editing, Before you understand how to use ai for video editing, it’s important to pick an AI-powered video editing tool that fits your needs and skill level. Some popular beginner-friendly AI tools include:
- Adobe Premiere Pro (with AI features like Adobe Sensei)
- Magisto — automatic video creation from clips
- InVideo — AI-powered templates and editing
- Lumen5 — converts text into videos using AI
- Runway ML — advanced AI editing tools for creatives
When choosing a tool, consider:
- What kind of videos you want to make (short social clips, tutorials, marketing videos, etc.)
- Your budget (free vs paid plans)
- Ease of use and learning curve
- AI features offered (auto cutting, color correction, scene detection, voiceovers, etc.)
Once you’ve chosen your tool, you’re ready to start editing smarter with AI!
Step 2: Upload Your Raw Footage to the AI Tool
Once you’ve selected your AI video editing software, the next step is to upload your raw footage or media files into the platform. Most AI tools support various formats like MP4, MOV, and AVI.
Tips for uploading:
- Organize your clips beforehand to make editing easier
- Upload in the highest quality available for best results
- Some AI tools allow batch uploads to speed up the process
After uploading, the AI will analyze your footage to detect scenes, faces, or key moments, depending on the tool’s capabilities. This analysis forms the foundation for automated edits, so make sure your footage is clear and well-lit for optimal AI performance.
Step 3: Let AI Automatically Edit Your Video
One of the biggest advantages of AI video editing tools is their ability to automatically create a rough cut or edit your footage for you. This can include:
- Selecting the best clips or scenes
- Cutting out mistakes or unwanted parts
- Adding smooth transitions
- Adjusting colors and lighting automatically
Depending on your tool, you might just need to click a “Create” or “Auto Edit” button and wait for the AI to work its magic. This saves tons of time compared to manual editing.
After the AI finishes, review the video to see what it has done. You can usually tweak or rearrange clips if needed.
Step 4: Enhance Your Video with AI-Powered Effects and Filters
After the AI has created the basic edit, it’s time to add polish by using AI-driven effects and filters. Many AI tools offer features like:
- Automatic color correction and grading to give your video a professional look
- AI-based stabilization to smooth shaky footage
- Background noise removal for clearer audio
- Smart captions and subtitles generated automatically
- AI-generated transitions and animations
These enhancements help your video stand out and save you hours of manual tweaking.
Try experimenting with different effects to find the style that best suits your content.
Step 5: Use AI to Add Music, Voiceovers, and Sound Effects
Sound plays a huge role in making videos engaging. Luckily, many AI video editors can help you with audio too. Here’s how AI can assist:
- Automatically add royalty-free background music that fits the mood of your video
- Generate AI voiceovers from text if you don’t want to record your own
- Clean up audio by removing background noise or balancing sound levels
- Suggest sound effects based on your video content
Using these AI audio features can make your videos more professional and immersive without needing advanced audio editing skills.
Step 6: Review and Fine-Tune Your Video with AI Assistance
After the AI has done most of the heavy lifting, it’s important to carefully review your video. AI tools often provide smart suggestions or alerts for improvements, such as:
- Detecting awkward cuts or pacing issues
- Suggesting alternative clips or scenes
- Highlighting audio inconsistencies
- Offering better caption timing
Take advantage of these AI-powered recommendations to fine-tune your video and make it truly polished. Even though AI does a lot, your personal touch ensures the final product matches your vision.
Step 7: Export and Share Your AI-Edited Video
Once you’re happy with your edits, it’s time to export your video. Most AI video editors let you choose export settings based on your needs:
- Resolution (1080p, 4K, etc.)
- Format (MP4, MOV, etc.)
- Compression for faster uploads or higher quality
After exporting, share your video directly to social media platforms, YouTube, or your website — many AI tools have built-in sharing features.
Congratulations! You’ve successfully learned how to use AI for video editing and create professional-quality content with ease.
My Motivation
I had gone through this myself, with new era of youtube and content creation I myself wanted to start a successful youtube channel but was scared to put on my face and voice in my videos. so i tried to find some good niches to make sure viewers in those niche doesn’t require my face but a voice which guides them to the content.
And one day i found it so than i searched for some ai tools to automate my videos and batch record them and upload systematically throughout the week.
How to use ai for video editing is my own thing which i had problem with at one point and finded a good solution for it. Now i want to make sure i deliver this solution to others so that youtube content creation could be made a lot easier.
Happy Editing…
Conclusion:
AI has revolutionized video editing, making it accessible for beginners and speeding up the workflow for professionals. By following these 7 easy steps, you can harness powerful AI tools to create impressive videos without needing advanced skills or expensive software. Start experimenting today, and watch how AI transforms your video content creation. Learning how to use AI for video editing empowers you to produce high-quality videos efficiently, making your creative process smoother and more enjoyable.
Bonus Tips for Using AI in Video Editing:
- Always keep your raw footage organized for better AI analysis.
- Combine AI automation with your creative input for the best results.
- Stay updated on new AI tools and features—they evolve fast!
- Use AI-generated captions to improve accessibility and engagement.
- Don’t rely solely on AI; review and tweak edits for your unique style.
Related Posts
Creaitor AI Review 2025: Features, Pricing & Best Uses
Creaitor AI Review 2025: Features, Pricing & Best Uses Introduction Content creation is no longer just about writing—it’s about writing […]
Best AI Chrome Extensions for Productivity in 2025
Best AI Chrome Extensions for Productivity in 2025 In today’s fast-paced digital world, productivity is more than just working harder—it’s […]
Top 7 Free AI Chrome Extensions for Students (2025)
Top 7 Free AI Chrome Extensions for Students (2025) Are you a student looking for smarter ways to study, take […]